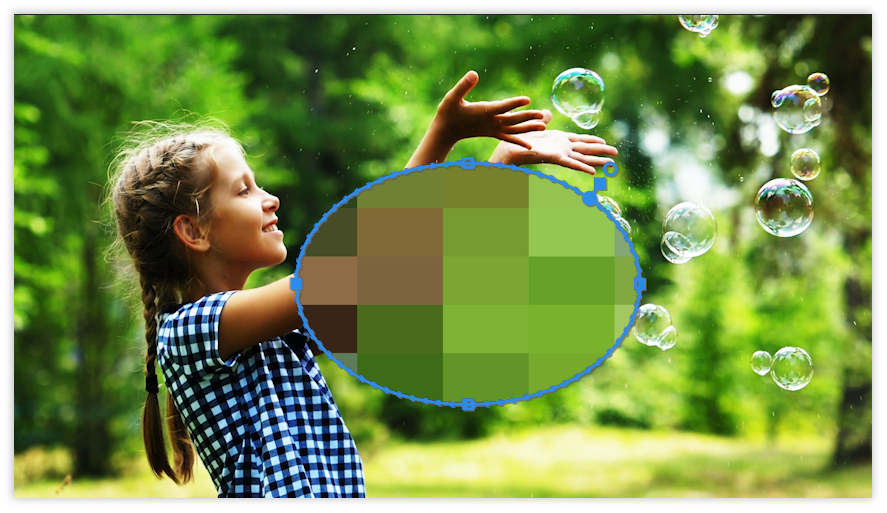
Masks let you define a specific area in a clip that you want to blur, cover, highlight, apply effects, or color-correct. You can create and modify different shaped masks, like an Ellipse or a Rectangle. Or, you can draw free-form Bezier shapes using the Pen tool.
You can use the Ellipse shape tool to create a circular or ellipse-shaped mask, or a Rectangle shape tool to create a four-sided polygon.
In the Timeline panel, select the clip you want to mask.
From theEffectspanel, select the effect that you want to apply to the clip.
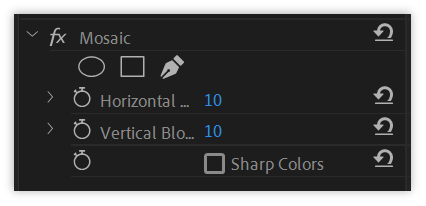
For example, if you want to apply theMosaiceffect, selectVideo Effects>Stylize>Mosaic.
Apply the selected effect to a clip by dragging the effect from theEffectspanel to the clip in theTimelinepanel. Alternatively, select the clip and double-click an effect in theEffectspanel to apply it.
Open the Effect Controls panel to see the effect properties. Click the drop-down arrow to reveal the controls.
You can create an ellipse or rectangle. Use the Pen tool to create free form shapes.
You can specify values to adjust a mask using the Effect Controls panel. The controls change depending on your choice.
Click the Ellipse shape tool to create an Ellipse-shaped mask or click the Rectangle shape tool to create a rectangle-shaped mask.
You can now customize the size and shape of the mask using the Effect Controls panel.
Masking with Premiere Pro When you apply a mask to an object, Premiere Pro can let the mask automatically follow the object as it moves from one frame to another. For example, after blurring a face using a shape mask, Premiere Pro can automatically track the movements of the masked face from frame to frame as the person moves.
When a mask is selected, theEffect Controlspanel displays controls for tracking the mask forward or backward. You can choose to track the mask either one frame at a time or until the end of the sequence.